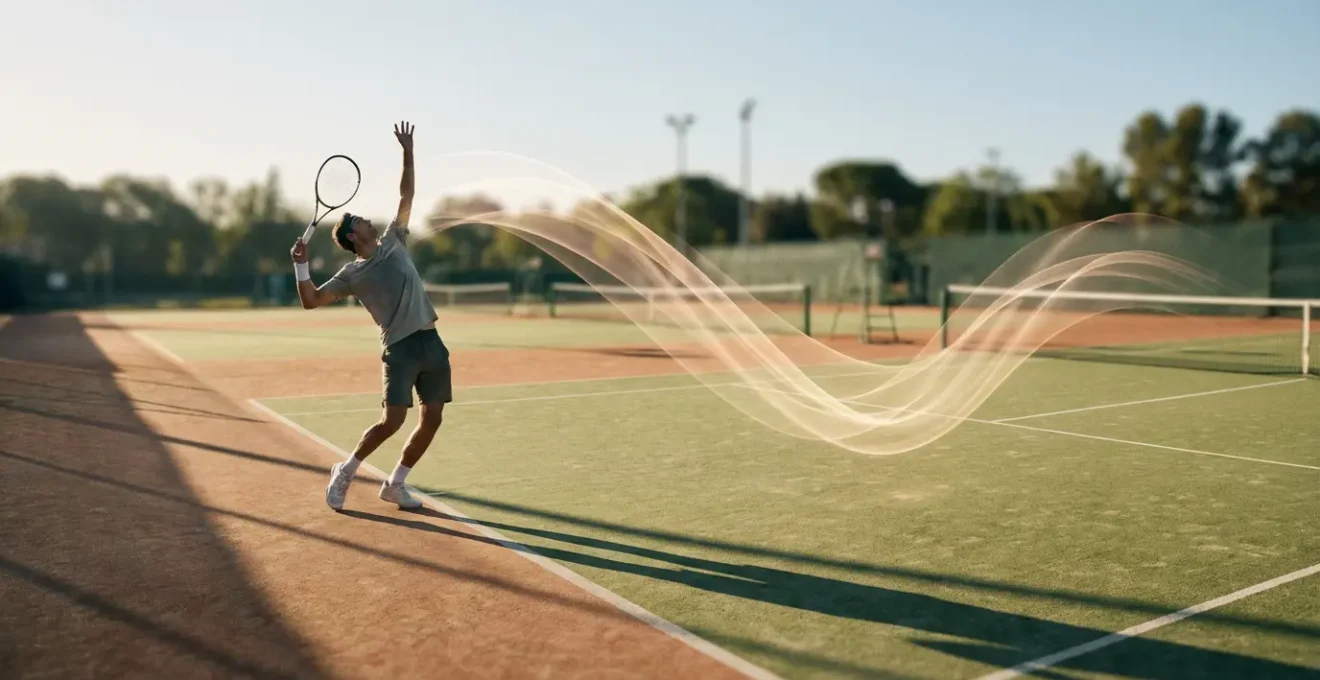
Contrary to popular belief, fixing a high-level serve isn’t about more reps; it’s about seeing the milliseconds your eyes miss. Standard video is lying to you.
- Motion blur at standard 60fps hides critical flaws, making technical analysis impossible.
- The “wrist snap” is a dangerous illusion; power comes from internal shoulder rotation, a movement only visible with high-speed capture.
Recommendation: Use a minimum of 240fps to move beyond guesswork and start analyzing the real biomechanics of your kinetic chain.
For any advanced player or coach, the quest to refine a tennis serve can feel like a frustrating plateau. You’ve drilled the fundamentals, watched hours of pro footage, and focused on your toss, leg drive, and follow-through. Yet, that elusive extra gear of power and consistency remains just out of reach. The common advice—”film yourself”—often leads to more confusion, as standard 60 frames-per-second (fps) video simply can’t capture the explosive reality of the service motion. It shows you a blurry, simplified version of events, leading to misinterpretations and flawed corrections.
The problem is that the most critical components of the serve happen in fractions of a second. We’ve been told to look for certain cues, but what if those cues are merely illusions created by the brain filling in the gaps of low-fidelity information? What if the key to unlocking your serve’s potential isn’t in what you can see, but in what is currently invisible? This is where the paradigm shifts from simple slow-motion to true high-speed video analysis. It’s not just about slowing things down; it’s about increasing the data points to build a scientifically accurate picture of your movement.
This guide moves beyond the generic advice. We will treat high-speed footage as a biomechanical microscope, revealing the critical milliseconds of energy transfer, debunking common visual myths that lead to injury, and providing a data-driven path to improvement. We’ll explore the specific frame rates needed to see specific flaws, the precise camera setups to avoid analytical errors, and how to interpret the data to build a more powerful, efficient, and safer serve. Forget what you think you see; it’s time to analyze what is actually happening.
This article provides a detailed roadmap for using high-speed video as a diagnostic tool. We will break down why standard frame rates fail, how to set up for accurate analysis, and what to look for in the crucial phases of the serve, from the ground up.
Summary: Why High-Speed Footage is Essential for Fixing Serve Mechanics?
- Why 60fps is useless for analyzing racket head speed?
- How to set up camera angles to avoid parallax errors in analysis?
- Leg Drive vs. Arm Extension: What does slow-motion reveal first?
- The illusion of “wrist snap” that ruins junior players’ wrists
- Immediate Playback vs. Post-Session Review: Which aids learning better?
- How to interpret angular velocity graphs without a PhD?
- How to use slow-motion drills to map new neural pathways?
- How Tuning Swing Weight Can Add 10mph to Your Serve?
Why 60fps is useless for analyzing racket head speed?
The fundamental problem with using standard video, like that from a typical smartphone camera at 60fps, is a phenomenon called motion blur. For everyday moments, our brains interpret this blur seamlessly. But in sports biomechanics, blur is not a feature; it’s a catastrophic loss of data. When analyzing a motion as fast as a tennis serve, you need to see distinct, crisp positions of the racket at different moments in the swing. At 60fps, the racket head travels a significant distance between each frame, smearing the visual information into a useless streak.
To quantify this, consider the physics. High-speed imaging analysis reveals that for a 110mph serve, a camera shooting at 60fps captures a staggering 0.82 feet of motion blur between frames. The racket is effectively invisible for nearly ten inches of its swing path. You can’t analyze what you can’t see. By increasing the frame rate to 240fps, that blur is reduced to just 0.20 feet, finally allowing you to distinguish key positions like the racket drop, contact point, and the beginning of pronation. Without this level of temporal resolution, you are simply guessing.
Therefore, any serious analysis must start with an adequate frame rate. For basic serve mechanics, 240fps is the absolute minimum. To dissect more nuanced movements like forearm rotation or shoulder joint angles, 300fps is recommended. For elite-level biomechanical research or injury prevention analysis, specialists use 600fps or higher. It’s also crucial to use a high shutter speed (at least 1/500th of a second) to ensure each individual frame is sharp. A high frame rate with a slow shutter speed will still result in a blurry mess, defeating the entire purpose.
How to set up camera angles to avoid parallax errors in analysis?
Capturing high-speed footage is only half the battle; if your camera is in the wrong position, you introduce an analytical poison known as parallax error. This distortion occurs when the camera’s viewing angle makes objects appear at a different position or angle than they are in reality. For tennis analysis, this can lead to disastrously incorrect conclusions. A slightly off-axis camera might make a perfect ball toss look like it’s too far in front, or make a player’s knee bend seem shallower or deeper than it actually is.
Professional coaching standards have shown how sensitive analysis is to this error. Even a 5-degree off-axis camera angle can shift the perceived location of the ball toss by up to six inches and, more critically, alter the measurement of knee bend by 10 degrees. This is the difference between a correct diagnosis and prescribing a fix for a problem that doesn’t exist. To eliminate this, your setup must be precise and repeatable. For a side-on view, the camera must be placed perfectly perpendicular to the player’s movement along the baseline. The lens should be aimed at the player’s hip level, with the lens height ideally matching the height of the ball at the contact point to get the most accurate vertical perspective.
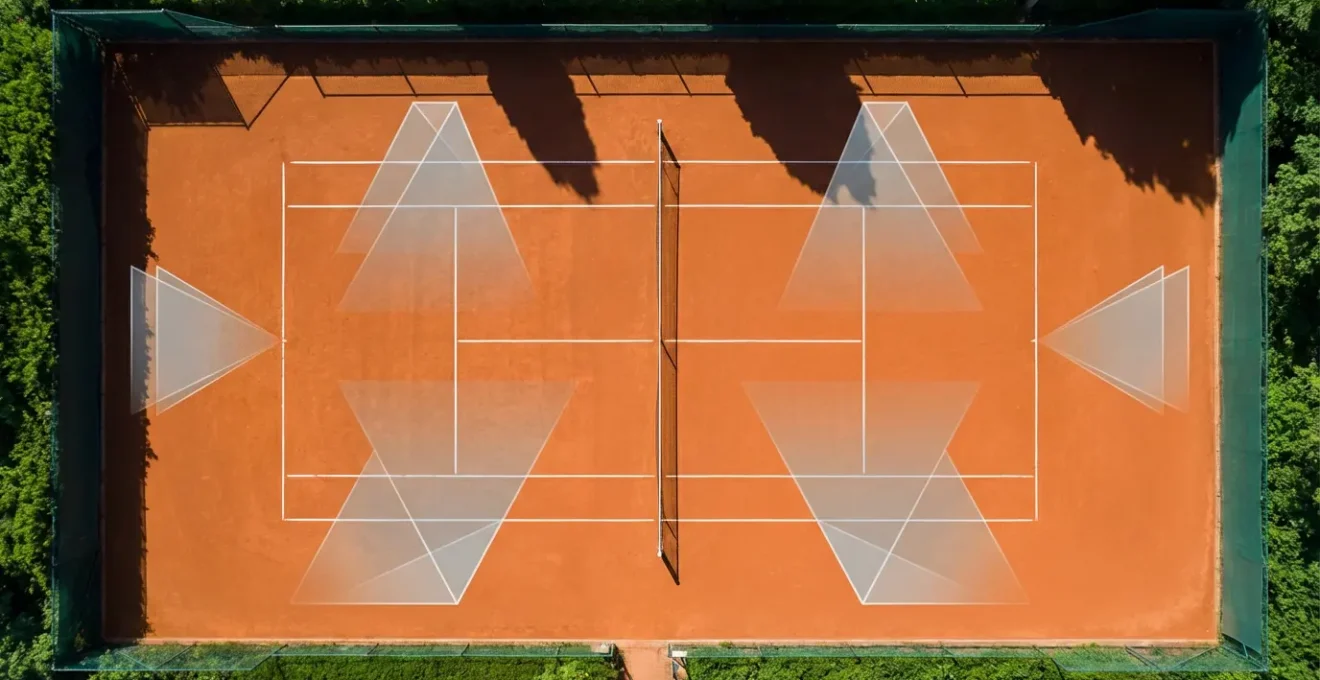
The two most critical camera positions are the side view (profile) and the rear view. The side view is essential for analyzing the kinetic chain, including leg drive, hip and shoulder rotation, and the overall rhythm of the serve. The rear view is invaluable for assessing racket path, shoulder and elbow alignment, and the specifics of forearm pronation. For a complete picture, using two synchronized high-speed cameras is the gold standard, but even with one camera, capturing separate sets of serves from both a perfect side-on and rear-on angle will provide the data needed for a comprehensive breakdown.
Leg Drive vs. Arm Extension: What does slow-motion reveal first?
One of the most complex elements of the serve is the kinetic chain—the sequence of energy transfer from the ground up through the legs, core, shoulder, arm, and finally to the racket. A common flaw is improper timing between the leg drive and the arm swing. Many players think of it as a sequential “1-2” motion: first you push with the legs, then you swing with the arm. High-speed footage reveals a much more nuanced and critical reality: it’s not a sequence, but an overlap.
Frame-by-frame analysis of elite servers shows that the upward drive from the legs is not finished when the arm begins its acceleration. In fact, a high-speed analysis of professional servers reveals a critical overlap period where the legs are still pushing upward as the arm begins to accelerate forward and upward to the ball. This overlap, lasting just 3 to 5 frames at 300fps, is where massive amounts of energy are transferred from the large muscles of the body to the smaller muscles of the arm. Without this overlap, the arm is left to “muscle” the ball on its own, leading to a loss of power and increased risk of injury.
What high-speed footage reveals first is often a timing disconnection. For instance, a player might fully extend their legs and pause for a fraction of a second before initiating the arm swing. On standard video, this looks like a fluid motion. But at 300fps, you can see the hips stop rotating while the shoulder delays its acceleration by 5 or 6 frames. This tiny pause is a “leak” in the kinetic chain, where all the momentum generated from the ground is lost. Correcting this involves drills that teach the player the feeling of the upward push and forward rotation happening concurrently, ensuring the body’s momentum is seamlessly handed off to the hitting arm.
The illusion of “wrist snap” that ruins junior players’ wrists
Perhaps the most damaging myth in tennis coaching is the concept of the “wrist snap” on the serve. Countless players are taught to forcefully flick or snap their wrist at contact to generate racket head speed and spin. Visually, it appears that players like Federer or Roddick are snapping their wrists violently. However, high-speed footage and biomechanical analysis reveal this to be a dangerous illusion. The wrist is, in fact, relatively stable through the contact zone. The apparent “snap” is the visual byproduct of a much more powerful and complex movement: internal shoulder rotation and forearm pronation.
This isn’t a matter of opinion; it’s a matter of physics. Detailed biomechanical studies reveal that forearm pronation contributes a mere 5.2% of the racket head’s final speed, while powerful internal rotation of the shoulder provides a staggering 54%. Actively trying to snap the wrist not only fails to add significant pace but also places immense stress on the delicate structures of the wrist, leading to chronic injuries. As technical analyst Tomaz Mencinger explains:
The wrist is stable through contact, and it’s the internal shoulder rotation and the pronation that create the illusion of the wrist snap because the racket head angles downward in relation to the arm.
– Tomaz Mencinger, Feel Tennis Technical Analysis
At 240fps or higher, you can freeze the moment of impact and see this clearly. The wrist maintains its “L” shape relative to the forearm. The rapid downward motion of the racket post-contact is not from wrist flexion but from the entire forearm rotating inward (pronation), a movement initiated from the shoulder. Coaching a player to “relax the wrist” and allow it to be a consequence of the arm’s rotation, rather than an active generator of force, is one of the most important corrections high-speed analysis can facilitate.
Immediate Playback vs. Post-Session Review: Which aids learning better?
Once you have high-quality footage, the next question is how to use it for maximum learning. Do you show the player the clip immediately on court, or do you conduct a detailed review after the session? The answer, according to cognitive science, is “both”—but for very different purposes. The key is understanding cognitive load: the amount of mental effort required to process information.
Immediate feedback on the court is most effective for correcting single, simple flaws. According to coaching research applying cognitive load theory, this approach works best because the mental demand is low. For example, if a player’s ball toss is consistently too low, you can show them a quick clip, have them hit one or two more serves focusing only on that correction, and provide instant reinforcement. The feedback loop is short and targeted, preventing the player from being overwhelmed. Trying to fix multiple complex issues at once on court (e.g., “your toss is low, you’re not using your legs, and your shoulder is rotating late”) will overload their working memory, and no real learning will occur.
In contrast, post-session review is essential for complex pattern analysis, such as dissecting the timing of the entire kinetic chain. This requires a quiet, focused environment where the player can watch the footage frame-by-frame, multiple times, without the pressure of hitting the next ball. This is where you can overlay lines, measure angles, and compare their motion to a professional model or their own best serves. It allows for deeper, conceptual learning about the relationships between different body parts. This is where the “aha!” moments about timing and flow happen, which can then be translated into specific feelings to replicate in the next practice.
How to interpret angular velocity graphs without a PhD?
For the truly dedicated analyst, high-speed footage can be imported into software that generates biomechanical data, including graphs of angular velocity. At first glance, these charts filled with lines and peaks can seem intimidating. But you don’t need an advanced degree in physics to extract powerful insights. The key is to know what you’re looking for: the shape and smoothness of the curve.
Angular velocity simply measures how fast a body part is rotating. When analyzing the serve, you’ll look at graphs for the pelvis, torso, and hitting arm. A highly efficient serve, characteristic of a professional player, will display a sequence of smooth, single-peaked acceleration curves. Imagine a series of perfectly timed waves: first the hips rapidly accelerate and decelerate, then the torso, then the shoulder, and finally the arm. Each segment’s peak speed occurs just after the previous one, showing a seamless transfer of energy. According to a comparative analysis using 240fps footage, this smooth, sequential peaking is the hallmark of an efficient kinetic chain.
In contrast, the graphs of amateur players often look “noisy” or “multi-peaked.” A double peak on the torso’s velocity curve, for instance, indicates the player is hesitating or using their muscles inefficiently, essentially fighting against themselves. Instead of one smooth acceleration, they are starting, stopping, and restarting the rotation. More importantly, the analysis shows that the slope of the velocity curve (the acceleration rate) is often more important than the peak speed itself. A pro might not rotate their hips faster than an amateur in terms of peak velocity, but they achieve that speed much more quickly and transfer it more effectively, resulting in a much steeper curve on the graph. So, when looking at these graphs, focus less on the maximum number and more on the clean, wavelike shape of the energy transfer.
Key Takeaways
- Effective serve analysis is impossible below 240fps due to motion blur hiding crucial racket positions.
- The kinetic chain is a system of overlapping energy transfers, not a simple 1-2 sequence; high-speed video is the only way to see this timing.
- Many common coaching cues, like “snap the wrist,” are visual illusions that high-speed footage debunks, preventing injury and promoting correct mechanics.
How to use slow-motion drills to map new neural pathways?
Identifying a flaw with high-speed video is the diagnostic step. The corrective step involves physically reprogramming the body’s muscle memory. This is not just about conscious effort; it’s about building new, more efficient neural pathways. Slow-motion video is a powerful tool in this process, not just for analysis, but for learning.
The principle is based on a process called myelination. When you perform a slow, deliberate, and correct movement, your brain reinforces the neural circuit for that action by wrapping it in a myelin sheath, making the signal faster and more automatic over time. As biomechanics expert Dr. Mark Kovacs states:
When you see a flaw in slow-motion and then perform a slow, deliberate ‘shadow swing’ to correct it, you are physically building a new, more efficient neural pathway through myelination.
– Dr. Mark Kovacs, Kovacs Institute Tennis Biomechanics Research
A highly effective method for this is the “exaggeration drill.” Instead of just trying to perform the correct motion, you perform a hyper-correct or exaggerated version of it at slow speed. For example, if you’re trying to improve shoulder-hip separation, you would consciously hold your upper body back for longer than necessary as your hips rotate. This exaggeration helps you feel the correct sensation more intensely. By recording these slow, exaggerated drills and reviewing them, you confirm that you are learning the right pattern. Then, you can gradually increase the speed, trying to maintain that new feeling.
Your Action Plan: The Exaggeration Drill Technique for Neural Reprogramming
- Identify the specific flaw using slow-motion video analysis at 240fps or higher.
- Record yourself performing an exaggerated version of the correct motion at 50% speed without a ball (shadow swing).
- Review the exaggerated motion in slow-motion to verify the mechanics are what you intended.
- Gradually increase the speed of the shadow swing while trying to maintain the exaggerated feeling.
- Prime your motor cortex by watching a slow-motion clip of your best serve immediately before each practice serve with a ball.
How Tuning Swing Weight Can Add 10mph to Your Serve?
While technique is paramount, the equipment itself can either facilitate or hinder the kinetic chain. High-speed video analysis reveals a fascinating relationship between a racket’s swing weight and a player’s ability to produce power efficiently. Many players, especially those seeking more pace, mistakenly opt for lighter rackets, thinking they can swing them faster. While this might be true for an empty swing, high-speed footage of the impact tells a very different story.
At the moment of truth—ball contact—lighter rackets suffer from instability and deceleration. They simply don’t have enough mass to power through the ball without losing momentum. In fact, frame-by-frame analysis demonstrates that lighter rackets can show a 15-20% deceleration at contact, while rackets with a higher swing weight maintain their velocity far more effectively, transferring more of that energy into the ball. This is one reason why a player might feel like they are swinging hard but the ball isn’t going anywhere; their racket is buckling at impact.
More profoundly, optimizing swing weight can actually force better technique. A racket that is too light allows a player to “muscle” the serve using just their arm. A racket with an appropriate swing weight for their strength level feels “heavy” enough that it becomes difficult to generate pace with the arm alone. This encourages—or rather, forces—the player to initiate the swing from the ground up, engaging their legs and core to get the racket moving. High-speed footage of players who switch to a properly weighted racket often shows an immediate improvement in their kinetic chain sequencing. They begin to rotate more effectively because the racket’s weight demands it. The result is often a higher ball speed despite a potentially lower empty swing speed, proving that efficient energy transfer trumps brute arm strength every time.
Start by using at least 240fps to get a true picture of your mechanics. By focusing on the kinetic chain, debunking visual myths, and using drills to build correct neural pathways, you can move past your plateau and build a serve that is not only more powerful but also more sustainable for your long-term athletic health.